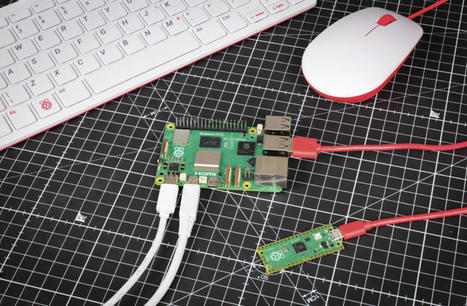
By connecting Raspberry Pi 5 to Raspberry Pi Pico, you get the best of both worlds: a single-board computer linked to a low-cost, compact microcontroller. Pico can be programmed in the MicroPython language using the Thonny IDE on Raspberry Pi 5. It is then able to run a program automatically when powered up on its own, so can be used in all sorts of portable projects.
Here we’ll show you how to set up Pico with Raspberry Pi 5, install the MicroPython firmware on it, and write a program to flash Pico’s on-board LED.
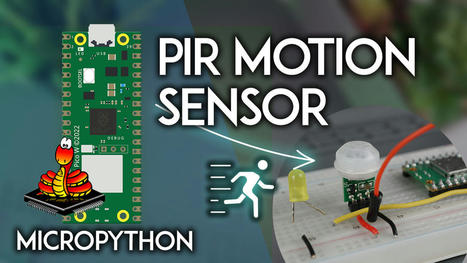
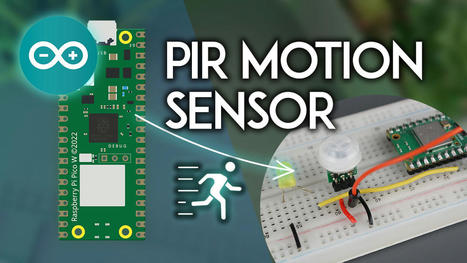
Learn how to interface a PIR motion sensor with the Raspberry Pi Pico to detect motion in your surroundings. We’ll show you how to wire the sensor to the Pico board and we’ll program the board using MicroPython firmware to execute a certain task when motion is detected.
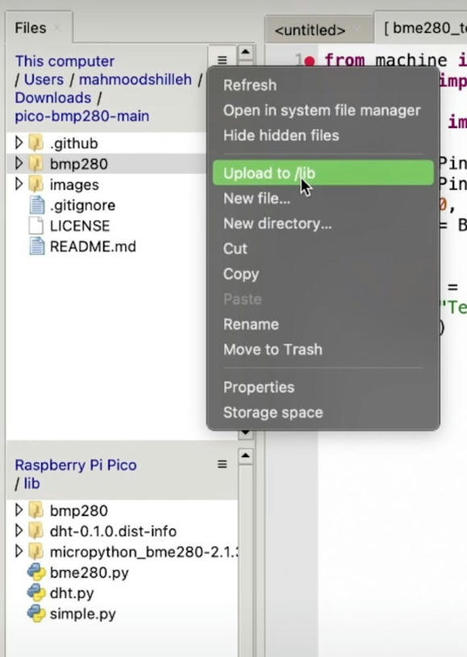
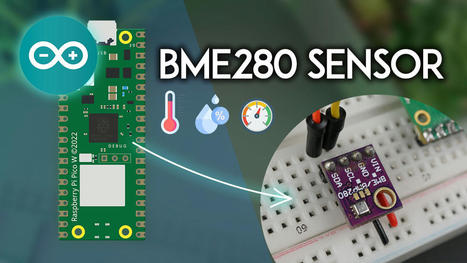
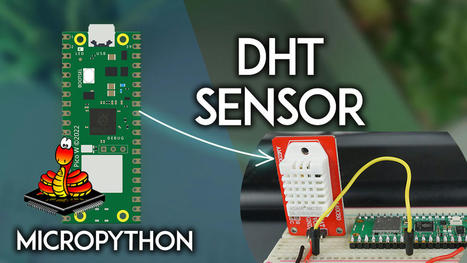
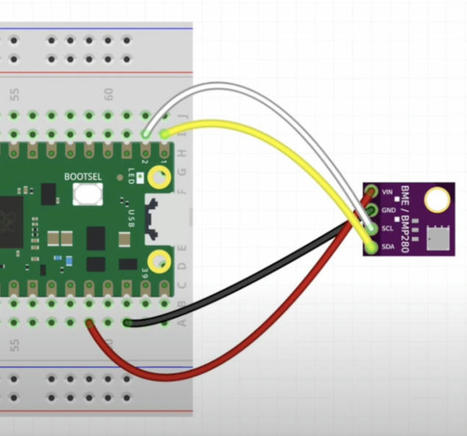
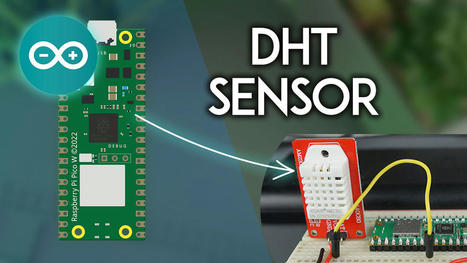
Get started quickly with the BME280 sensor module with the Raspberry Pi Pico board, programmed using the Arduino IDE, to get temperature, humidity, and pressure readings. This brief tutorial will teach you how to use the BME280 sensor with your Raspberry Pi Pico board. We’ll show you how to wire the sensor, install the required libraries, and write a simple sketch to display sensor readings.
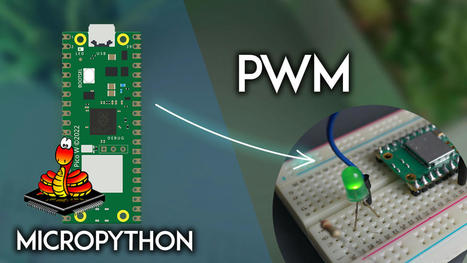
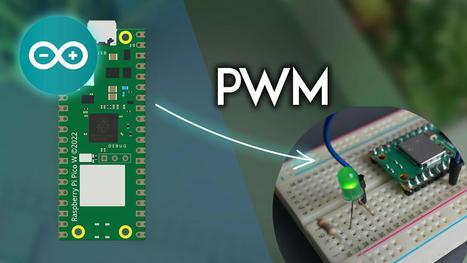
Learn how to generate PWM signals with the Raspberry Pi Pico using MicroPython firmware. As an example, we’ll show you how to dim the brightness of an LED by changing the duty cycle over time.
Learn how to generate PWM signals with the Raspberry Pi Pico using Arduino IDE. As an example, we’ll show you how to dim the brightness of an LED by changing the duty cycle over time.
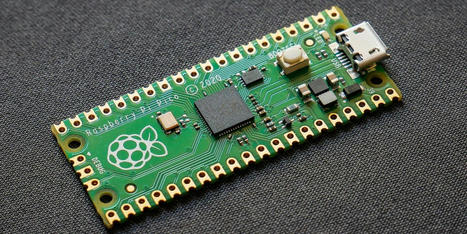
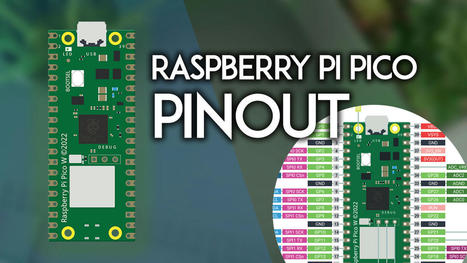
This article goes into detail about the Raspberry Pi Pico and Pico W pinout. The Raspberry Pi Pico comes with 40 pins that can be used to connect electronic components like LEDs, motors, and sensors. Learn what each pin does, what it can be used for, and its specific functions.
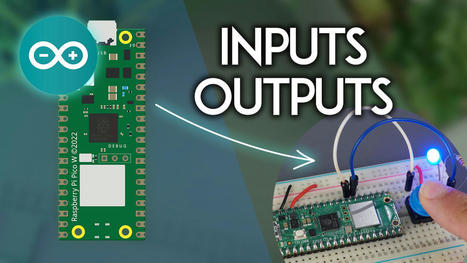
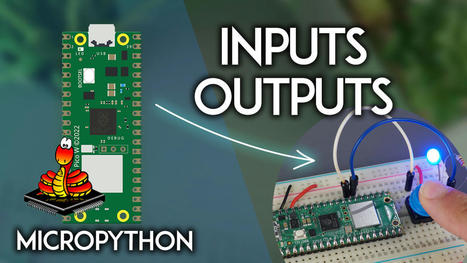
Learn how to set the Raspberry Pi Pico GPIOs as digital inputs and digital outputs using Arduino IDE. You’ll learn how to read digital inputs like a button switch and how to control a digital output like an LED.
This is a complete guide to using MQTT with Raspberry Pi Pico programmed with MicroPython. MQTT is a communication protocol widely used in Home Automation and IoT applications to connect multiple devices. In this tutorial, you’ll learn how to choose and set up an MQTT broker and how to publish and subscribe to MQTT messages with the Raspberry Pi Pico.
Learn how to interface a PIR motion sensor with the Raspberry Pi Pico to detect motion in your surroundings. We’ll show you how to wire the sensor to the Pico board and we’ll write an Arduino sketch to execute a certain task when motion is detected.
Disfruta de los vídeos y la música que te gustan, sube material original y comparte el contenido con tus amigos, tu familia y el resto del mundo en YouTube.
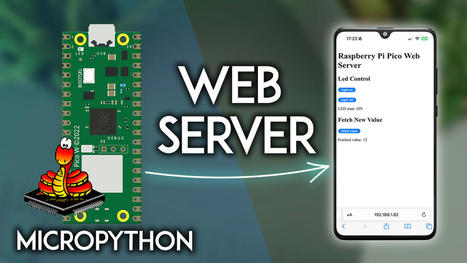
In this guide, you’ll learn how to create a basic Raspberry Pi Pico local web server to control outputs and fetch data. As an example, we’ll create a web page to control an LED on and off and fetch some random values generated by the Pico. This example can be easily modified or extended to control multiple outputs and fetch data from sensors instead of random numbers.
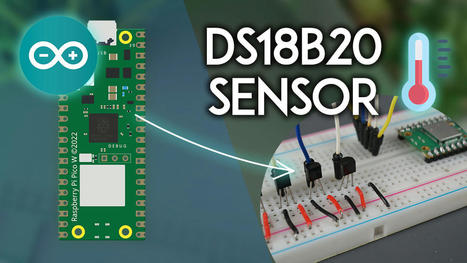
In this guide, you’ll learn how to interface the Raspberry Pi Pico with the DS18B20 temperature sensor and how to get temperature readings using Arduino IDE. The DS18B20 is an addressable temperature sensor, which means you can connect multiple sensors to the same GPIO. We’ll also show you how to get temperature from multiple DS18B20 sensors all at once.
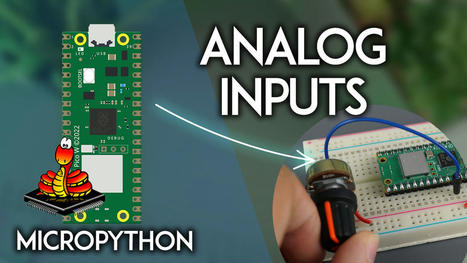
This guide shows how to read analog values with the Raspberry Pi Pico using MicroPython. As an example, we’ll read the values from a potentiometer, but what you’ll learn can be applied to any analog sensor/peripheral.
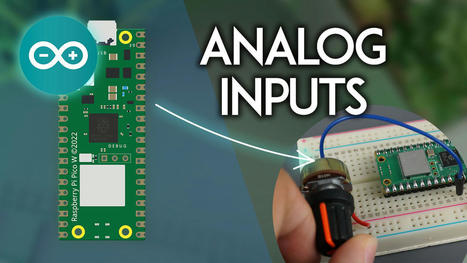
This guide shows how to read analog values with the Raspberry Pi Pico using Arduino IDE. As an example, we’ll read the values from a potentiometer, but what you’ll learn can be applied to any analog sensor/peripheral.
Learn how to set the Raspberry Pi Pico GPIOs as digital inputs and digital outputs using MicroPython firmware. As an example, you’ll learn how to read the value of a pushbutton and light up an LED accordingly. With this simple example, you’ll learn how to read any digital input and control any digital output.
To get content containing either thought or leadership enter:
To get content containing both thought and leadership enter:
To get content containing the expression thought leadership enter:
You can enter several keywords and you can refine them whenever you want. Our suggestion engine uses more signals but entering a few keywords here will rapidly give you great content to curate.


 Your new post is loading...