tecno4
2.4M views | +2 today
Follow
tecno4
Información asignatura tecnología
Your new post is loading...

Popular Tags

Current selected tag: 'Raspberry Pi OpenCV'. Clear
Scooped by Gumersindo Fernández
Scoop.it!

Raspberry PI : 09 : Facial Recognition with Python Arduino Connection

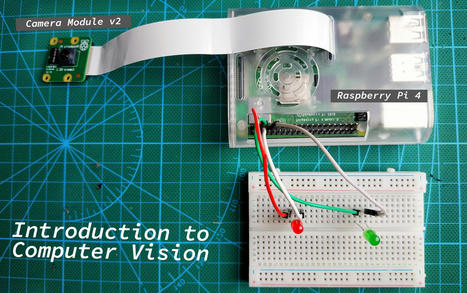
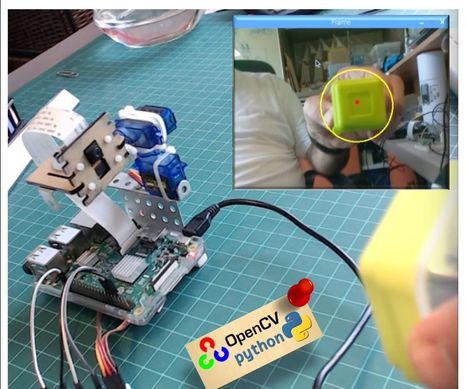
This is a series of basic lesson tutorials on Raspberry Pi. These are structured around creating a Facial Recognition system integrated with Arduino. This video focuses on running OpenCv based facial recognition on Raspberry Pi and using the result to provide input for code running on a connected Arduino.

The code repository that goes along with this video is posted here...
https://github.com/frankcarmody/piFace
No comment yet.
Scooped by Gumersindo Fernández
Scoop.it!

Introduction to Computer Vision Using OpenCV and Raspberry Pi

Introduction to Computer Vision Using OpenCV and Raspberry Pi | tecno4 | Scoop.it
Exciting times ahead as software advancements let you implement computer vision applications on single-board computers like the Raspberry Pi. Today, we explore how computer vision works by creating a deep-learning-based face detection project using OpenCV. Please note that I am a Machine Learning beginner and this post only aims to spark interest in computer vision. It will not include explanations on machine learning concepts but rather a step-by-step tutorial on the easiest way to create a face detector using Raspberry Pi.
No comment yet.
Scooped by Gumersindo Fernández
Scoop.it!

Installing OpenCV on the Raspberry Pi

Installing OpenCV on the Raspberry Pi | tecno4 | Scoop.it
Compile OpenCV on the Raspberry Pi using a few simple steps. OpenCV is a collection of libraries that help with developing computer vision applications.
No comment yet.
Scooped by Gumersindo Fernández
Scoop.it!

Cómo instalar OpenCV Raspberry Pi paso a paso

Cómo instalar OpenCV Raspberry Pi paso a paso | tecno4 | Scoop.it

Hay diferentes maneras de instalar OpenCV Raspberry Pi. La más común hasta hace más bien poco es utilizando el propio código fuente de OpenCV.
Esto requiere de la compilación de las fuentes. Un trabajo bastante costoso pero que te permite tener un mayor control de la configuración de OpenCV Raspberry Pi.
Sin embargo, la forma más rápida que hay en la actualidad de instalar OpenCV Raspberry Pi es utilizando pip (gestor de paquetes de Python).
En este tutorial te enseñaré cómo instalar OpenCV en Raspberry Pi para que puedas programar tus propios proyectos de visión artificial.

No comment yet.
Scooped by Gumersindo Fernández
Scoop.it!

Automatic Vision Object Tracking : 11 Steps (with Pictures)

Automatic Vision Object Tracking : 11 Steps (with Pictures) | tecno4 | Scoop.it

This is my first experience with OpenCV and I must confess, I am in love with this fantastic "Open Source Computer Vision Library".

OpenCV is free for both academic and commercial use. It has C++, C, Python and Java interfaces and supports Windows, Linux, Mac OS, iOS and, Android. On my series of OpenCV tutorials, we will be focusing on Raspberry Pi (so, Raspbian as OS) and Python. OpenCV was designed for computational efficiency and with a strong focus on real-time applications. So, it's perfect for Physical computing projects!

No comment yet.
Scooped by Gumersindo Fernández
Scoop.it!

Cómo instalar OpenCV en la Raspberry Pi

Cómo instalar OpenCV en la Raspberry Pi | tecno4 | Scoop.it

Cualquiera que haya realizado procesamiento de imágenes mediante una Raspberry Pi, tarde o temprano se encontrará con la biblioteca OpenCV. Ofrece muchas funciones muy útiles como el reconocimiento facial, la creación de mapas de profundidad (visión estereoscópica, flujo óptico), el reconocimiento de texto o incluso el aprendizaje automático. Además, OpenCV (Open Source Computer Vision) puede integrarse tanto en los archivos C++ como en los scripts Python.
Especialmente en términos de reconocimiento de características en las imágenes tomadas por el Raspberry Pi, OpenCV es muy útil.
Este tutorial muestra cómo instalar OpenCV en una Raspberry Pi y cómo integrarlo en Python.

No comment yet.