Bitmaps & Code by Leslie Birch
Time to create two image files and convert them into a code the OLED can understand.
Use Photoshop or another imaging program to create two cameo profile pics and turn them into bitmaps (.bmp). They should be monologue and 128x64 pixels. Notice I had my images each facing another direction.
Download LCD Image Converter and run.
Choose New Image and create a name. Then hit enter.
Now choose Image and Import. Select the file.
Now choose Options and Conversion, then Prepare. The followiing should be checked: Type: Monochrome, Threshold Dither, Main Scan Direction: Left to Right, Line Scan Direction: Forward
Now select Image. Make sure Select to Rows is checked. 8-Bit and Little Endian.
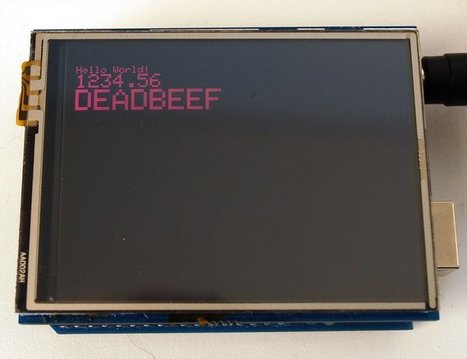
Hit OK, then File, Convert. Name the file. Now do the same process for your other file. The completed files will contain a series of code that you need to cut and paste into the project code to replace the files I provided. It will look something like this, only longer. Note that you don't need the beginning name, just the brackets and what is contained within them...
Learn more / En savoir plus / Mehr erfahren:
https://www.scoop.it/t/21st-century-learning-and-teaching/?&tag=ARDUINO
https://www.scoop.it/t/21st-century-learning-and-teaching/?&tag=OLED


 Your new post is loading...


https://www.euglobalservices.com/
Renew Or Update Your Licence - Licence Driving Services
Renew or update your driving licence online, rapid support and SMS notifications. Mobile friendly and lost licence protection, fully legal to drive once approved. Explore Our Services. Check Application Pricing. Multiple Payment Options.
Renew Licence · Lost Licence · Change Your Address
https://www.euglobalservices.com/about-us/buy-uk-driving-licence/