Introducing 4D Systems' All New Workshop4 IDE Supports multiple development environments, to cater for different user requirements and skill level. Workshop4 is a comprehensive software IDE for Microsoft Windows that provides an integrated software development platform for all of the 4D family of processors and modules.
The IDE combines the Editor, Compiler, Linker and Downloader to develop complete 4DGL application code. All user application code is developed within the Workshop4 IDE. Workshop4 includes four development environments, for the user to choose based on application requirements or even user skill level. Designer This environment enables the user to write 4DGL code in its natural form to program the display module. ViSi - Genie An advanced environment that doesn’t require any 4DGL coding at all, it is all done automatically for you.
Simply lay the display out with the objects you want (similar to ViSi), set the events to drive them and the code is written for you automatically. ViSi -Genie provides the latest rapid development experience from 4D Systems. ViSi A visual programming experience that enables drag-and-drop type placement of objects to assist with 4DGL code generation and allows the user to visualise how the display will look while being developed.
Serial This environment is also provided to transform the display module into a slave serial display module, allowing the user to control the display from any host microcontroller or device with a serial port.
Learn more / En savoir plus / Mehr erfahren:
https://www.scoop.it/t/21st-century-learning-and-teaching/?&tag=ARDUINO
https://www.scoop.it/t/21st-century-learning-and-teaching/?&tag=Visuino+-+Visual+Development+for+Arduino
https://www.scoop.it/t/21st-century-learning-and-teaching/?&tag=4D+Systems


 Your new post is loading...

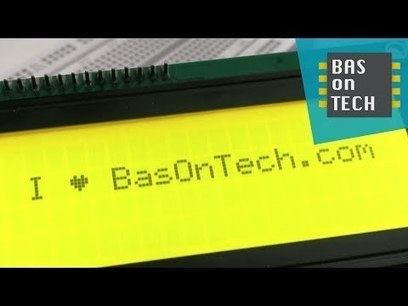


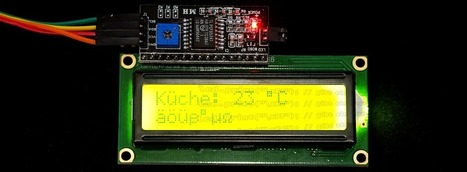
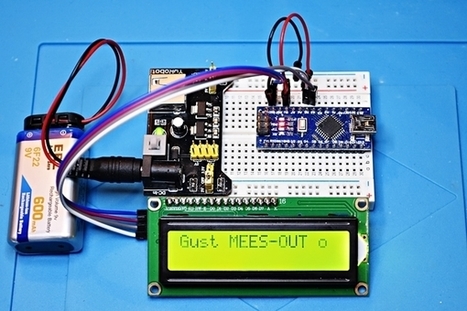
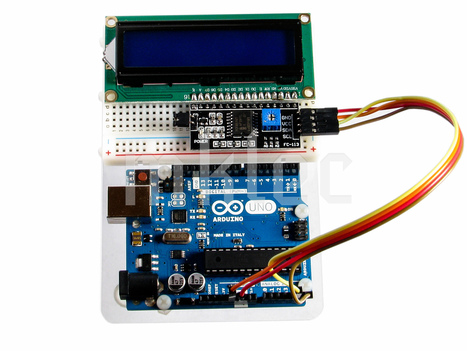

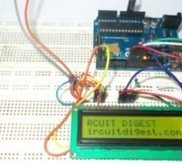


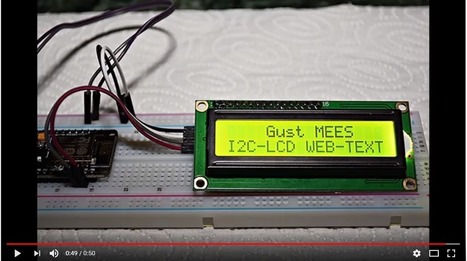
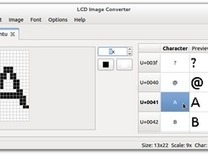
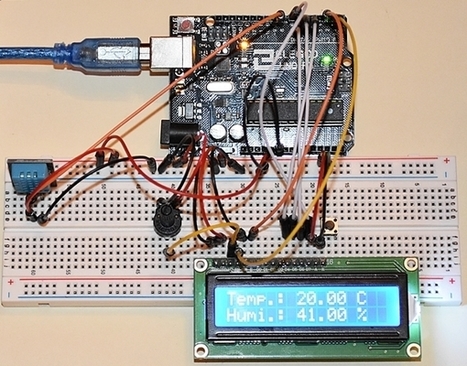

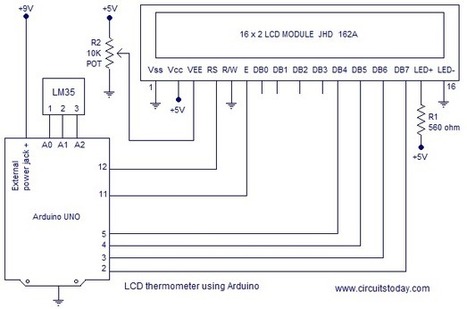


In this Arduino tutorial for beginners you learn how to display text and custom symbols on an I2C LCD display.
Visit the LCD symbol tool at:
https://maxpromer.github.io/LCD-Character-Creator/
Learn more / En savoir plus / Mehr erfahren:
https://www.scoop.it/t/21st-century-learning-and-teaching/?&tag=LCD
https://www.scoop.it/t/21st-century-learning-and-teaching/?&tag=ARDUINO
https://mikeyancey.com/hamcalc/lcd_characters.php